Shader Preview
Overview[edit]
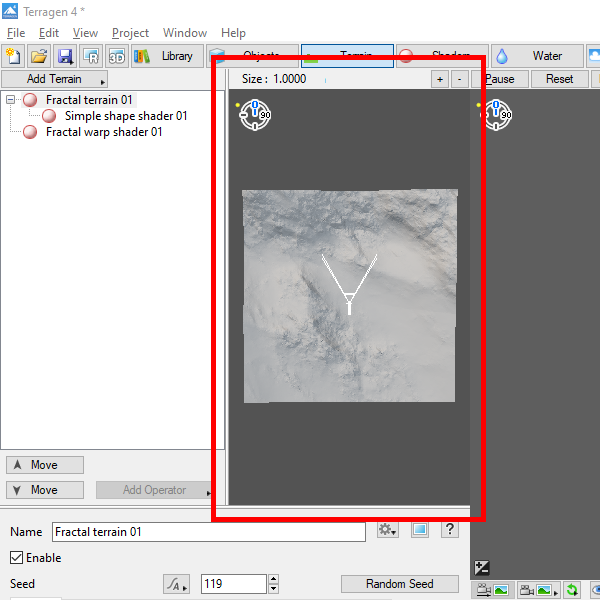
The Shader preview is available in the Terrain, Shader, and Atmosphere layouts. Note that not all nodes can be previewed, and when this is the case, the Shader preview is not available. When visible, it is limited by the node it is displaying data from. By default, the Shader preview displays a top-down view of the currently selected shader node. You can freely change the camera perspective using either mouse and keyboard commands or the navigation tool.
Main Menu[edit]
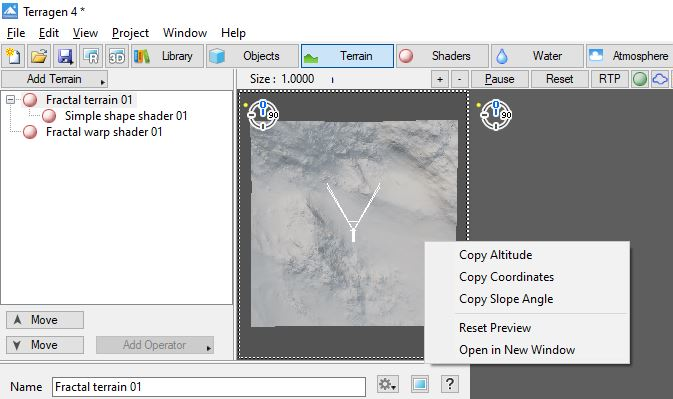
Right-clicking within the Shader preview pane exposes a context menu, and when “Open in New Window” is selected the Shader preview will open in a new window.
Across the top of the new Shader preview window are three drop down menus for Edit, View, and Window.
Edit options:
In the Shader preview window, only the Undo option is available. The remaining options are ghosted out and only available in the 3D Preview.
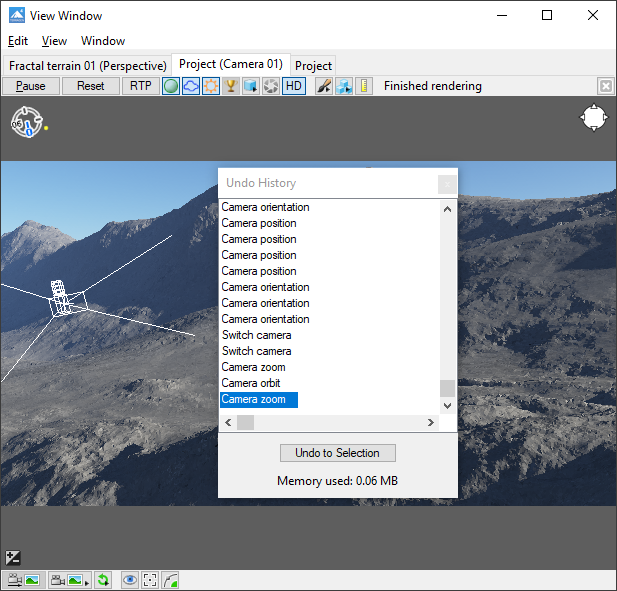
- Undo: This item will undo previous changes made in this window. To see a listing of all previous changes which can be undone, use the Undo History window, which is opened from the View menu.
View options:
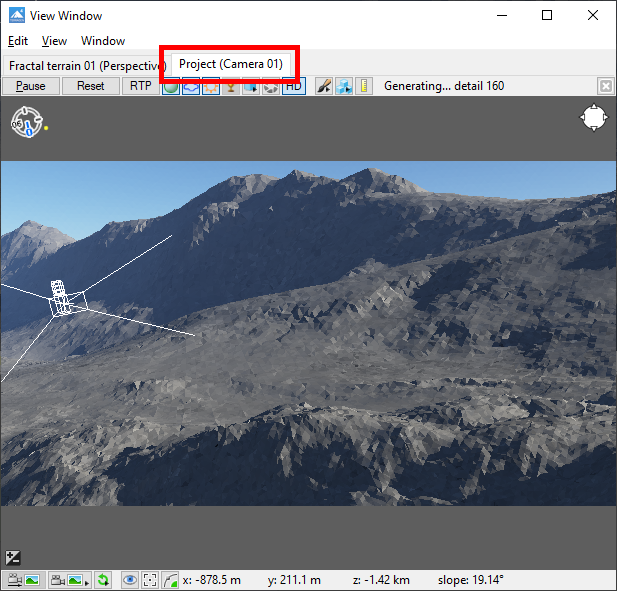
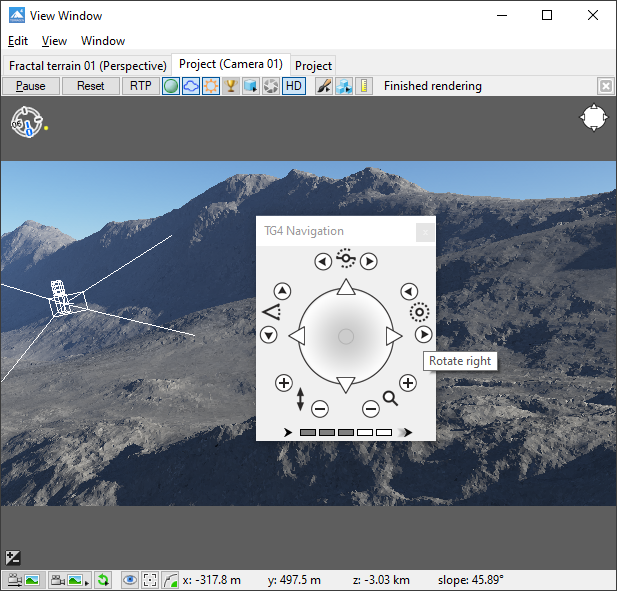
- Open New 3d preview in tab: When selected a 3D Preview based on the current render camera is opened in a new tab of the Shader preview.
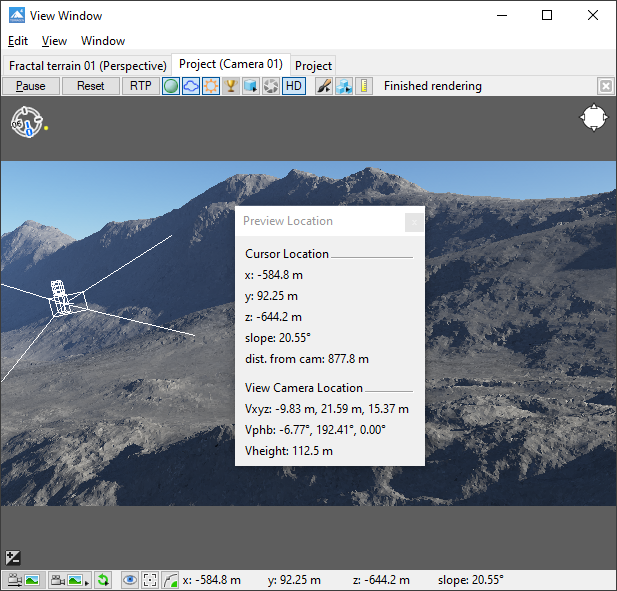
- 3D Preview Location: When selected a floating window opens which displays information about the cursor position in the currently focused 3D Preview, as well as the view camera location.
- Navigation Window: When selected a floating window opens which contains navigation controls for the currently focused 3D Preview. You can find out more about the navigation panel here.
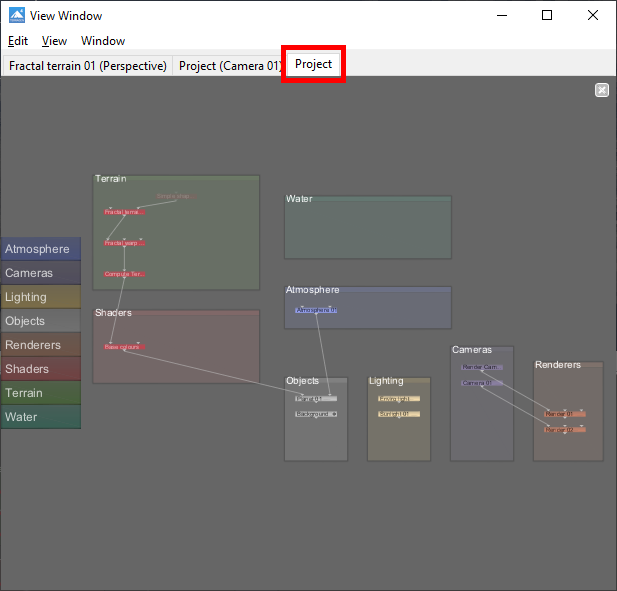
- Open new network view in tab: When selected, a network view is opened in a new tab of the Shader preview.
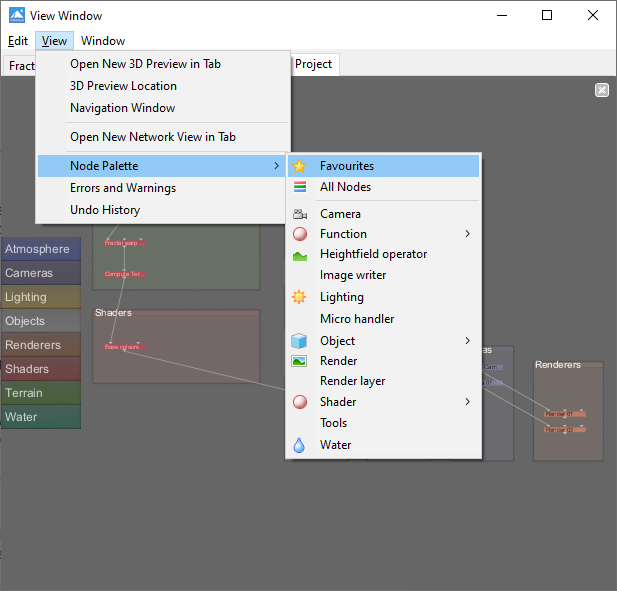
- Node Palette: When selected a submenu opens and allows you to open a floating Node Palette for a particular type of node. You can find out more about the Node Palette here.
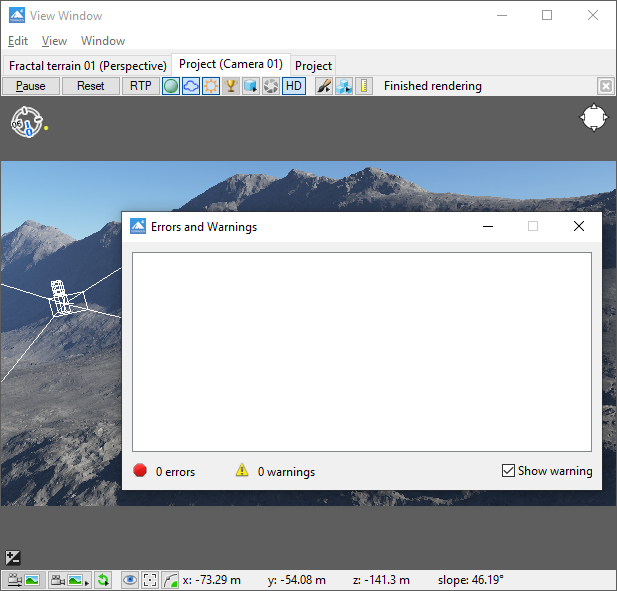
- Errors & Warnings: When selected, the Errors and Warnings window opens. You can find out more about the Errors and Warnings window here.
- Undo history: When selected, a floating window opens showing all the changes which can be undone.
Window options:
- Show/Hide Floating Windows: This option acts as a toggle between showing and hiding all the current floating windows, such as the 3D Preview Location window or ther node parameter floaters.
- Terragen 4*: When selected, the main Terragen 4 window is brought to the forefront.
- View Window: When selected, the View window is brought to the forefront.
Top Toolbar[edit]
- Pause: When clicked, the Shader preview rendering is paused, which can free up CPU resources as the previews are constantly updating to show the results of every change. You may wish to temporarily pause the Shader preview when making many changes or using the Painted shader tool, then unpause the preview when the modifications are complete.
- Reset: When selected, the preview is reset to the current render camera and rendering begins from scratch, which can be useful if you want to immediately trigger a refresh of the preview for any reason.
- RTP: This button is only implemented for the main 3D Preview. Selecting it for any tabs within the Shader preview window will have no effect on those windows.
- HD: When selected, the maximum detail shown in the preview is doubled from 80 to 160 in normal 3D Previews, and from 160 to 320 in shader/heightfield previews.
- Start Painting Shader: When selected, a painting shader session can be started. For more information about using the Painted Shader tool click here.
- Enable Disable Measuring Tool: When selected the state of the Measuring tool is toggled between enabled and disabled. For more information about using the Measuring tool click here.
- Rendering status: This displays the current status of the 3D preview rendering.
- Size: This displays the current viewing area of the 3D preview. The value will change as you use the zoom in and zoom out buttons to the right of the readout.
- Zoom in/out: These buttons are available for general procedural nodes with “infinite” area. Pressing the +/- buttons will respectively increase and decrease the area which is shown in the preview. Once the view has been altered, pressing either of the +/- buttons will reset it to top-down. With a node of finite area, such as a heightfield node, the preview will show the entire extent of the node's output, and no size indicator or controls are shown. You can use normal 3D camera movement controls to control your view in a limited way. As in the 3D Preview pane, objects can be selected and repositioned by clicking on their bounding boxes.
- Close 3d Preview: Clicking this button will close the current tab of the Shader preview.
Preview Pane[edit]
The Shader preview pane contains a mini-compass, navigational controls, and a context menu which can be accessed by right-clicking in the pane.
- Mini-compass: In the upper-left corner of the Shader preview is a mini-compass. The compass rotates as you move the camera, and the top of the compass always shows the orientation of your current view. The small yellow dots orbiting the compass represent the lights in the project.
- Navigation controls: Clicking on the icon in the upper-right corner of the Shader preview opens the Navigation controls. For more information about using the Navigation controls click [| here].
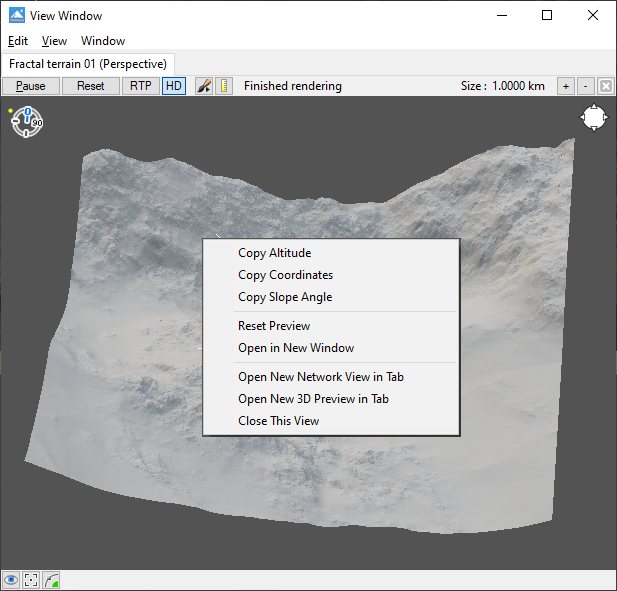
- Context menu options: Right-clicking in the Shader preview pane brings up the following context options:
- Copy Altitude: When selected, the value of the terrain’s altitude beneath the mouse is copied to the clipboard, so they may be pasted into the altitude parameters of other nodes.
- Copy Coordinates: When selected, the terrain coordinates beneath the mouse are copied to the clipboard, so they may be pasted into the positional parameters of other nodes.
- Copy Slope Angle: When selected, the value of the terrain’s slope beneath the mouse is copied to the clipboard, so they may be pasted into the slope parameters of other nodes.
- Reset preview: When selected for a Shader preview, the view is reset to a top-down view. When selected for a Shader preview tab displaying the 3D Preview, the view is reset to the render camera view.
- Open in new window: When selected, a new Shader preview is opened in a separate window.
- Open new network view in tab: When selected, a network view is opened in a new tab of the Shader preview. This option is also available under the Shader preview’s View menu.
- Open new 3d preview in tab: When selected a 3D Preview based on the current render camera is opened in a new tab of the Shader preview. This option is also available under the Shader preview’s View menu.
- Close this view: Closes the Shader preview’s current tab.
Bottom Toolbar[edit]
The toolbar located at the bottom of the Shader preview includes a number of camera controls, and displays the XYZ coordinates and slope values beneath the mouse pointer when the mouse pointer hovers over the preview pane.
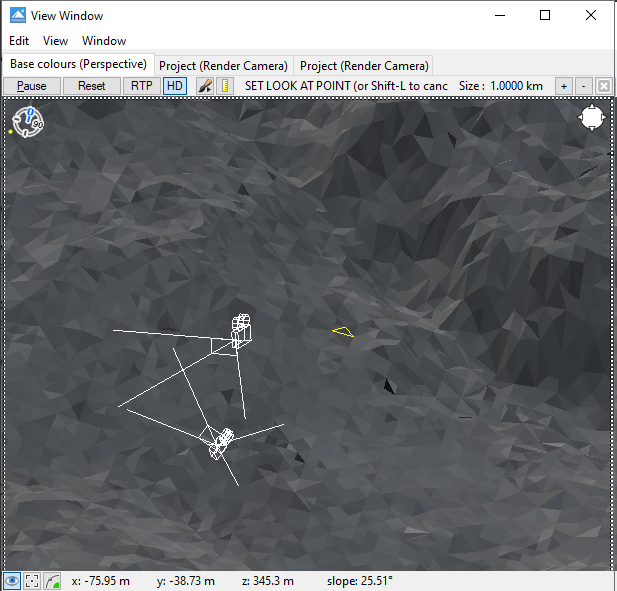
- Look at point: When selected, a yellow triangle appears in the Shader preview below the mouse pointer, and when left-clicked, sets the “look at point”. The Shader preview immediately re-orients itself, centering on the look at point.
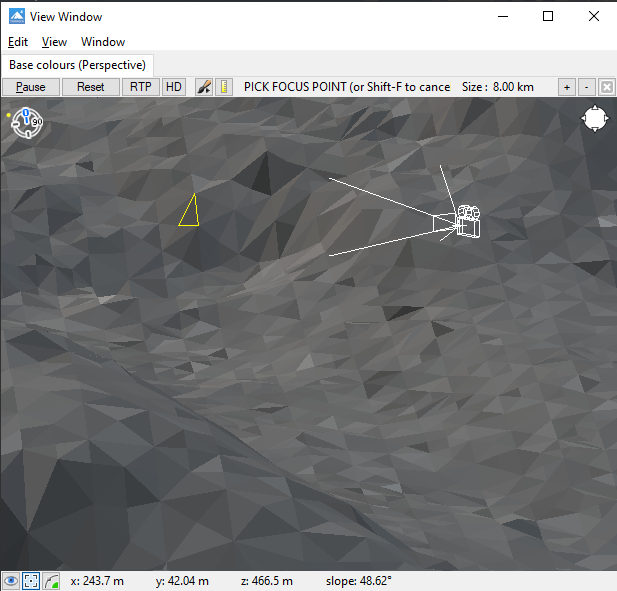
- Orbit point: When selected, a yellow triangle appears in the Shader preview below the mouse pointer, and when left-clicked, sets the “orbit point”. The orbit point defines the point at which the viewport camera will reference when “orbiting”. By default in the Windows version of Terragen, orbiting is accomplished by pressing the Alt+Left mouse button to control rotation, i.e. “orbiting”, while the Alt+Middle mouse button controls forward and backwards movement, and the Alt+Right button moves up/down and side-to-side.
- Free orbit mode: When selected, this mode allows the camera to roll freely during orbit movements, rather than being fixed to the original roll orientation. This is particularly useful when navigating with the camera at points far from the coordinate origin, for example on the other side of a planet, where the original roll value will not be parallel to the planet's surface. Normally, when you orbit the camera with the Alt-Left mouse button the 'heading' is constrained around the Y axis and 'bank' is fixed. With Free orbit mode enabled, orbiting happens with respect to the current camera rotation and you can also bank the camera by pressing the Alt-Left mouse button then dragging the mouse around the Shader preview.
- XYZ & Slope readouts: At the bottom of the Shader preview a set of 4 numbers labeled “x,” “y,” “z,” and “slope” appear when your mouse hovers over the window. The x, y, and z figures indicate the current position of the scene element, usually the terrain, under the mouse cursor and update as the mouse is moved about the Shader preview. Coordinates are measured in metric units, usually meters ("m") or kilometres ("km") and are relative to the coordinate origin. The slope value indicates the slope of the terrain in that area and it is measured in degrees.. You can copy these values by Right-clicking in the Shader preview and selecting Copy Altitude, Copy Coordinates, or Copy Slope Angle depending on what information you need. Then use the paste button to paste the data into an appropriate node field.
A shader is a program or set of instructions used in 3D computer graphics to determine the final surface properties of an object or image. This can include arbitrarily complex descriptions of light absorption and diffusion, texture mapping, reflection and refraction, shadowing, surface displacement and post-processing effects. In Terragen 2 shaders are used to construct and modify almost every element of a scene.
A single object or device in the node network which generates or modifies data and may accept input data or create output data or both, depending on its function. Nodes usually have their own settings which control the data they create or how they modify data passing through them. Nodes are connected together in a network to perform work in a network-based user interface. In Terragen 2 nodes are connected together to describe a scene.
A parameter is an individual setting in a node parameter view which controls some aspect of the node.
A heightmap or heightfield is an array of height values, usually in a grid which describe the height at specific points in a defined area. Heightfields are used to represent real-world and virtual terrain in a specific, easily converted format. Most heightfields can be represented as simple image data in grayscale, with black being minimum height and white being maximum height.
In a graphical user interface (GUI) on a computer a toolbar is a row, column, or block of onscreen buttons or icons that, when clicked, activate certain functions of the program.
